The Gateway Bridge Secret: How to Get Engine Data for $100 (Instead of $500)
AuthorMike Callahan
PublishedMay 2, 2026
Read Time11 min
UpdatedMay 2, 2026
Quick Brief
TL;DR Protocol
Stop paying for proprietary 'permission slips' to see your own data. Learn how to build your own NMEA 2000 engine bridge using a Raspberry Pi and SignalK.
If you own a modern outboard, whether it’s a Mercury Verado, a Yamaha V6, or a Suzuki DF, your engine is already creating a massive amount of data. It knows its own temperature to the tenth of a degree, its exact fuel burn per millisecond, and its oil pressure with aerospace precision.
But when you go to look at that data on your $2,000 chartplotter, you see... nothing.
To see your own engine's data, the manufacturers want you to buy a "Link" or a "Gateway" module. Mercury calls it the VesselView Link; Yamaha calls it the NMEA 2000 Gateway. Whatever the name, the price is usually the same: $500 to $700.
Essentially, they are selling you a $500 "permission slip" to view the data your engine is already producing. Today, we’re going to tear down that paywall. I’m going to show you how to build your own digital bridge for about $100 using a Raspberry Pi and a few standard cables.
Mike Callahan's Masterclass Note: "Manufacturers don't want you to know that your engine speaks a standard industrial language called J1939. They just wrap it in a proprietary plug and a fancy marketing name. Once you understand the 'Dialect' of the data, you can build a bridge for a fraction of the cost of a factory module. We’re going from 'Proprietary' to 'Open-Source' and saving $400 in the process."
Component
Proprietary Module (VesselView)
DIY Gateway Bridge
Total Cost
$500 - $750
$95 - $130
Data Types
RPM, Temp, Volts, Fuel (Limited)
Full Engine Lore + Custom PGNs
Connectivity
NMEA 2000A plug-and-play communications standard used for connecting marine sensors and display units. Only
Wi-Fi, Bluetooth, NMEA 2000, 4G
Complexity
Plug-and-Play
Moderate (Wiring + Config)
The 'Secret' Advantage
No programming required
Can add 'Cloud' logging for free
The Paywall Physics: Why the Data is Locked
To build the bridge, we have to understand the wall.
Modern outboards use a communication protocol called CAN Bus. In the automotive and marine world, this usually follows the J1939 standard. It’s a high-speed, two-wire network that carries thousands of messages per second.
The manufacturers use a specific connector (like the Mercury 10-pin or the Yamaha 4-pin) to keep you from plugging directly into it. Inside their $500 gateway module is nothing more than a small microchip that translates the J1939 messages into NMEA 2000 PGNs.
That’s it. There is no magic. There is no "special engineering." It is a simple translator.
The SignalK Revolution
This is where SignalK comes in. SignalK is an open-source data standard for boats. It acts as a central "brain" that can take data from your engine, your GPS, your depth sounder, and even your tank sensors, and translate it all into a single language that any chartplotter (or iPad) can understand.
The Gear List: Building the $100 Bridge
You don't need a degree in computer science to build this. You just need the right "Legos."
The Brain: Raspberry Pi 4 (2GB). This is more than powerful enough to handle a boat's data stream. (~$45)
The CAN Interface: RS485/CAN HAT for Raspberry Pi. This is the hardware that allows the Pi to "listen" to the engine's J1939 wires. (~$20)
The Cable: A standard Engine Interface Cable. You can buy these for $30 on Amazon, they have the engine's proprietary plug on one end and raw wires on the other. (~$30)
The Case: A rugged, waterproof project box to keep the Pi dry. (~$15)
Total Cost: $110.
The Masterclass Wiring Guide: Bridging the Gap
J1939 PROTOCOL WARNING
CAN Bus systems are sensitive to "Termination Resistance." If your bridge doesn't have a 120-ohm resistor at the end of the line, the data will "echo" back and crash your engine’s network. Most CAN HATs have a jumper to enable this resistor, make sure it’s ON.
Step 1: Locating the Diagnostic Port
On most outboards, the diagnostic port is located under the main cowling, near the fuse block.
Mercury: Look for a yellow 10-pin terminator plug.
Yamaha: Look for a white 4-pin connector near the ECU.
Suzuki: Look for a 4-pin or 8-pin connector often marked "SDS."
Step 2: Tapping the Wires
You aren't cutting your engine harness. You are simply plugging your interface cable into the port. On the other end of that cable, you will find two critical wires: CAN High (H) and CAN Low (L).
Connect CAN High to the 'H' terminal on your Raspberry Pi HAT.
Connect CAN Low to the 'L' terminal on your Raspberry Pi HAT.
Step 3: Powering the Bridge
The Raspberry Pi needs a clean 5V power supply. Do NOT connect it directly to your boat's 12V battery. Use a high-quality 12V-to-5V DC Converter (like a buck converter) to ensure the Pi doesn't fry during engine starts.
The Software Masterclass: Configuring SignalK
This is where the magic happens.
Install SignalK: Use the "OpenPlotter" image for the Raspberry Pi. It comes with SignalK pre-installed and configured.
Add the CAN Interface: In the SignalK settings, add a new "Data Provider." Select the "CAN Bus" option and tell it to use your CAN HAT.
The Mapping: This is the "Secret Sauce." You’ll install the SignalK-to-N2K plugin. This plugin automatically watches for J1939 engine data and "broadcasts" it onto your NMEA 2000 network as standard PGNs.
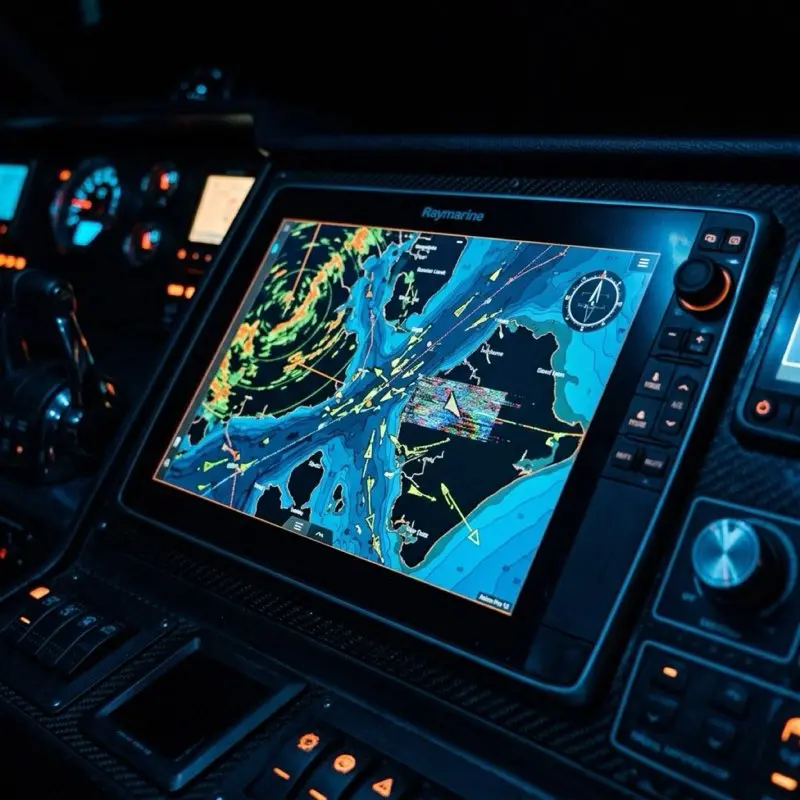
The Result: Your Garmin, Raymarine, or Simrad unit suddenly "wakes up." It sees a new engine on the network and starts displaying RPM, Temp, and Fuel flow as if you had installed the $500 factory module.
The "Death Trap" Symptoms: Why DIY Can Fail
If you're going to build your own bridge, you have to be smarter than the factory engineers. Here are the "Mike Callahan" field symptoms of a bad bridge setup:
THE SMARTCRAFT PAYWALL
Some newer Mercury engines (2023+) have a "Digital Lock" on their SmartCraft data. They require a specific 'handshake' that only the VesselView module provides. If you have a Verado V12 or a high-end racing motor, the DIY bridge might only show basic RPM and Temp, while locking the advanced fuel data.
The "Data Lag": Your RPM gauge on the screen is 2 seconds behind the actual engine sound. This usually means your Raspberry Pi’s CPU is being throttled by heat. Ensure your project box has a small heatsink.
The "Network Ghosting": Your depth sounder stops working when the engine bridge is on. This is a sign of a Ground Loop. Make sure your Pi and your NMEA 2000 network are sharing a common ground.
The "Duplicate Engine" Error: Your plotter thinks you have two engines when you only have one. This is caused by the Pi sending "Generic" engine IDs. You must configure the SignalK plugin to use "Engine Instance 0."
Advanced Lore: The "Cloud Logger" Advantage
Here is the real reason I love the DIY bridge over the factory module. Because the Raspberry Pi has built-in Wi-Fi and SD card storage, you can do things a factory module can't.
The Technical "Gold": You can set up a "Cloud Logger" that records every second of your engine’s performance to an SD card. If you ever have a mystery stall or a high-temp spike, you can go back and look at the "Flight Recorder" data to see exactly what happened in the seconds before the failure.
You can't do that with a $500 VesselView Link.
FAQ: Will this void my engine warranty?
This is the big one.
"Mike, will Mercury void my warranty if they see a Raspberry Pi plugged into my engine?"
The short answer: No, but be smart.
Simply "listening" to a CAN Bus network is not a warranty violation. You aren't modifying the engine’s software; you are just translating the output. However, if your DIY wiring causes a short circuit that fries the engine’s ECU, you’re on your own.
My Rule: Always use a fused power supply for the Pi, and always use a high-quality interface cable with a factory-style plug. Don't "hack" the harness.
Technical Deep-Dive: The Anatomy of a CAN Frame
To build a reliable bridge, you need to understand exactly what the Raspberry Pi is "hearing." A J1939 message isn't a complex file; it’s a tiny "frame" of data that looks like this:
The Identifier (ID): This tells the network what kind of data this is. In this case, 0x0CF004 is the standard ID for "Engine Speed" (RPM).
The Data Payload: These 8 bytes are the actual numbers. One byte might be the temperature, another might be the oil pressure.
The Raspberry Pi’s job is to see that ID, look up its meaning in a "Library" (called a DBC file), and then repackage it into an NMEA 2000 PGN that your chartplotter recognizes. When you realize it’s just a 16-character code, the $500 price tag for the factory module starts to look even more ridiculous.
Hardware Hardening: Salt-Proofing the Pi
A Raspberry Pi is a piece of consumer electronics. It was designed to sit on a desk in a air-conditioned room, not in a 100°F bilge with 90% humidity and salt spray.
If you just toss a Pi into your boat, it will be dead in three months. Here is how we "Marine-Grade" the hardware:
The Conformal Coating Masterclass
Before you install the Pi in its box, you must apply Conformal Coating. This is a clear, flexible acrylic spray that "shrink-wraps" the circuit board.
Mask the Ports: Use blue painter's tape to cover the USB ports, HDMI ports, and the GPIO pins.
The Spray: Apply three light coats of MG Chemicals 419D Conformal Coating to the front and back of the board.
The Result: You now have a waterproof, corrosion-proof computer that can survive a decade of salt air.
The Thermal Management Secret
Don't use a cheap plastic case. Use an Aluminum Passively Cooled Case. This turns the entire case into a giant heatsink. Since there are no fans to fail or pull in salt air, your bridge will stay cool even in a closed engine compartment.
The SignalK Dashboard: Your $1,000 Virtual Cockpit
Here is where the DIY bridge really wins. Because SignalK is a web-based server, it can "serve" a dashboard to any device with a browser.
The iPad Integration
Instead of buying a second $2,000 chartplotter for your flybridge or your companionway, you can mount a $300 iPad.
Connect to the Pi's Wi-Fi: The Raspberry Pi creates its own private boat network.
Open the Dashboard: Navigate to http://signalk.local.
The Custom Gauges: You can build a custom page with gauges for things your chartplotter won't show, like individual cylinder head temperatures, fuel injector duty cycles, and real-time "Fuel-to-Empty" calculations based on your actual GPS speed.
Mike’s Tip: Use the InstrumentPanel plugin in SignalK. It’s drag-and-drop, and you can make it look exactly like a modern Glass Cockpit.
Advanced Lore: The "Bus Load" Crisis
Every NMEA 2000 network has a "Speed Limit." It runs at 250kbps. If you start sending too much data, the network will "crash" and your gauges will freeze.
The Technical "Gold": Proprietary modules often "spam" the network with useless data just to keep the handshake alive. By using a DIY bridge, you can Filter the PGNs. You can tell the Pi to only send RPM once every 100ms instead of every 10ms. This reduces your "Bus Load" by 50% and makes your entire navigation system faster and more responsive.
FAQ: Can I use this for Twin Engines?
Absolutely. You just need a second CAN interface (or a dual-channel HAT).
Parallel Connections: Connect the H/L wires from Engine 1 to Channel A, and Engine 2 to Channel B.
The Instance Rule: In SignalK, you must label Engine 1 as "Instance 0" and Engine 2 as "Instance 1."
Your chartplotter will automatically recognize this as a "Twin Engine" setup and show two separate tachometers on the screen.
Summary: The Final Word on Data Empowerment
You shouldn't have to pay a "luxury tax" to know if your engine is healthy.
The Gateway Bridge Secret is about more than just saving money. It’s about taking control of the digital heart of your vessel. By building the bridge yourself, you’ve turned a "black box" into an open book.
As always, keep your data flowing, your code clean, and I’ll see you over the horizon.